The install
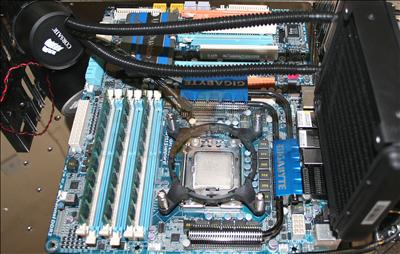
Here's the radiator and fan already attached to the motherboard tray. The retention bracket, too, has been positioned and screwed just deep enough to keep it in place.
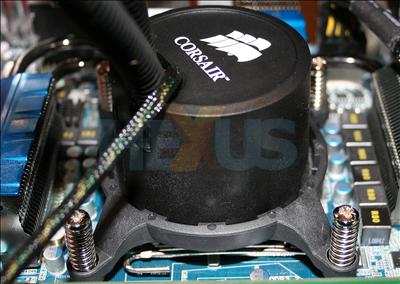
The next step is to slide the head in and turn it around, such that the notches near the cold-plate are now directly under the associated tabs/teeth on the heatsink. Once in place it's just a matter of screwing down until the head feels secure.
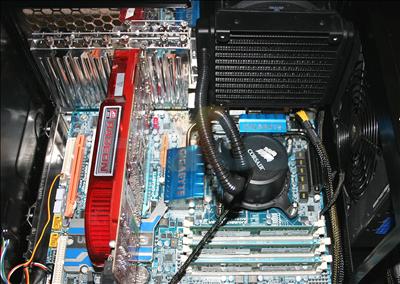
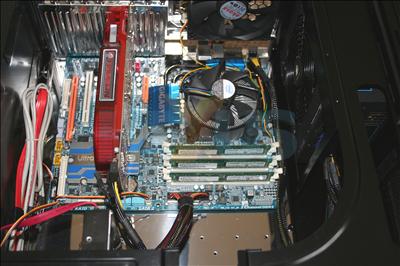
And everything in place within an Akasa Omega chassis. Pushing the motherboard tray into the chassis just fouls the radiator, and we had to use some good ol' wigglin' to push it in.
Assuming you're starting with the chip in the socket and the motherboard on a removable tray, the entire installation process takes 15 minutes, if you take your time. The fitting is simple enough that anyone can do it, and it's no more difficult than fitting a through-the-motherboard air-cooled heatsink.
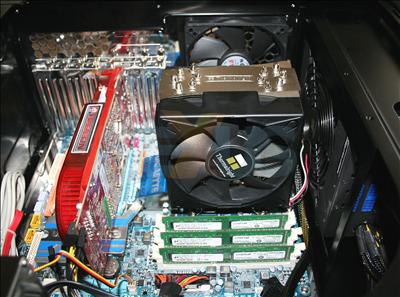
Speaking of which, we're comparing the Hydro H50's performance against one of the best air coolers on the market, the Thermalright's Ultra 120 eXtreme.
It uses a similar mounting mechanism. We're testing it with the Thermalright-provided fan.
Further, we're throwing in a PIB fan for good measure, too.


