Preparing the Disk
Made it through the license agreement? Congratulations! On we go...
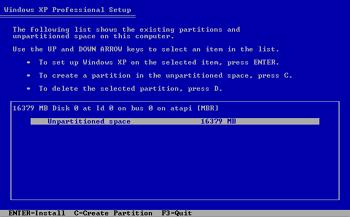
Now we must create one or more partitions on that shiny new hard drive in your shiny new computer. Of course, if it's not a shiny new hard drive, you can install to an existing partition, or delete the existing ones and start again. You could make one big partition (giving you a single "C:" drive) or break things down a bit more. For example, I have a C: drive for the OS, a D: drive for games and an E: drive for downloads. It's up to you. To create a partition, press 'c'.
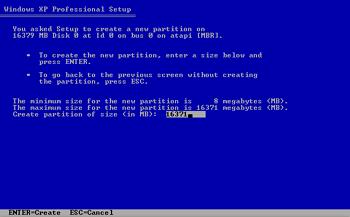
Now you can specify the size of the partition and press enter to create it, you can repeat this process until you have the partitions you want.
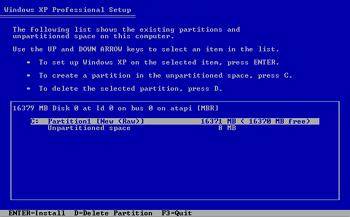
You'll probably find a little 8MB section of the disk that won't partition - don't worry about that. Select the partition you want to install to and hit enter.
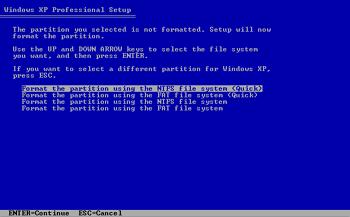
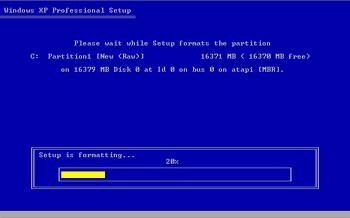
Now for the fateful task for choosing the filesystem format. If you want to run two operating systems on the computer (something not covered here) then you might want to use FAT32 as it's more broadly compatible. However, for most purposes, go with NTFS. You might have the option to quick format. If you've not use the disk before it might be wise to do a full format to verify the disk integrity. Unsurprisingly, it's not as quick as a quick format, so go make a cup of tea, or pour out a nice cold beer... do something!
Alternatively, stare at the progress bar of the formatting screen.
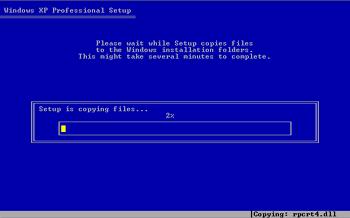
Windows Setup will now copy a shed load of files onto the newly formatted hard disk. This shouldn't take too long. The progress bar will stop for a little bit when it reaches the file "driver.cab", but don't worry; it's just a big file being copied. Once the files have been copied, Setup will do a little bit of configuration, then reboot.


