LightScribe
If you ignore the 18x burn speed that Samsung claims - as we've shown you probably should do - then the remaining headline feature of the SE-S184 is LightScribe, which lets you burn labels directly to CD or DVD, if you've got suitable blanks.
Although HP introduced LightScribe technology around 18 months ago and licensed it to a wide range of companies, this method of label creation has not set the world on fire.
There are a number of reasons for this, perhaps the most significant being that the results don't stand comparison with those from inkjet printers that can print directly to disc.
Also significant is that LightScribe-burnt labels takes far longer to produce than inkjet and are especially slow if printing full face - going right out to the edge - rather than just, say, a small title that's located close to the centre of the disc.
LightScribe prints only in monochrome - not full colour. However, a well-designed LightScribe label with lots of contrast can look genuinely striking and the LightScribe site has a bunch of templates for download that help you produce smart-looking discs.
But, where the design is done solely by the user, a lot of full-face LightScribe discs aren't going to be a patch on a full-colour disc produced by a decent inkjet printer.
The original generation of LightScribe discs were a sort of gold colour but, late last year, other colour variants finally started to turn up - red, blue, brown, yellow and green. These, however, simply mean that LightScribe burners can print black (or shades of grey) on a different coloured disc faces, not produce realistic-looking labels in full colour.
We printed out a whole bunch of labels on LightScribe discs with the Samsung and did some of them again on inkjet-compatible media using our own Canon Pixma MP780 multi-function inkjet printer.
Below is a chart showing the Samsung's claimed labelling times for LightScribe.
| Disc Labeling Time | Setting | Titles only | Titles and contents |
The entire label
area |
| Best | Less than 4 min | Less than 9 min | Less than 36 minutes | |
| Normal | Less than 3 min | Less than 7 min | Less than 28 minutes | |
| Draft | Less than 2 min | Less than 4 min | Less than 20 minutes |
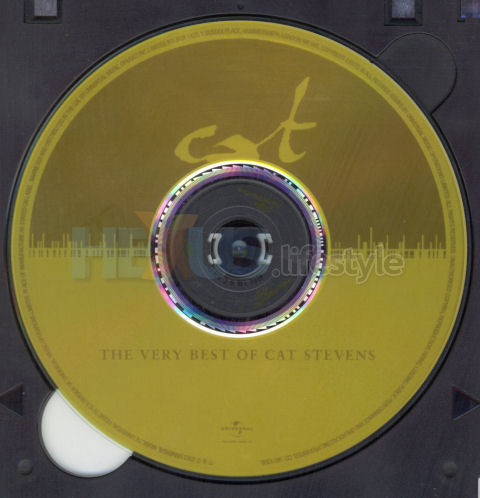
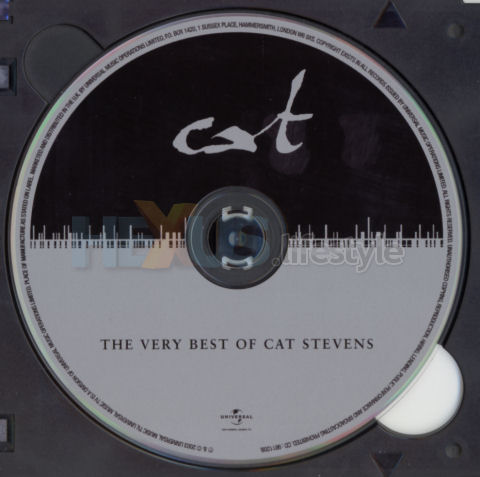
Our real-world tests show that these are close to accurate. For instance, using 1.4x LightScribe media, the Cat Stevens CD label you see below took 25 minutes and 12 seconds to print; and another full-face CD scan took 25 minutes and nine seconds.
For comparison, the Canon version that's shown next took a fraction over one minute - and that's typical for all direct-to-disc inkjet labels we've produced with the Pixma MP780. The Pixma-printed discs are also virtually dry the moment they pop out, whereas with some other brands of inkjet we've used in the past, the label can still be damp many hours after being produced.
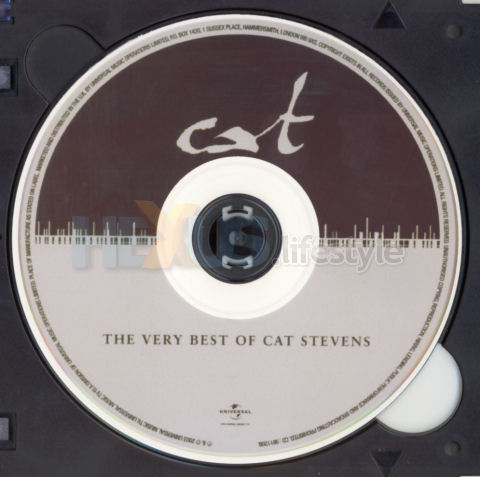
Scan of inkjet version. The effect is somewhat spoilt by using blanks that
have white space where the printer can't reach (click for larger image)
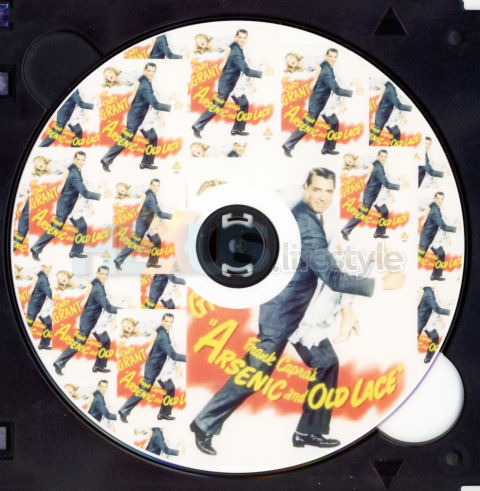
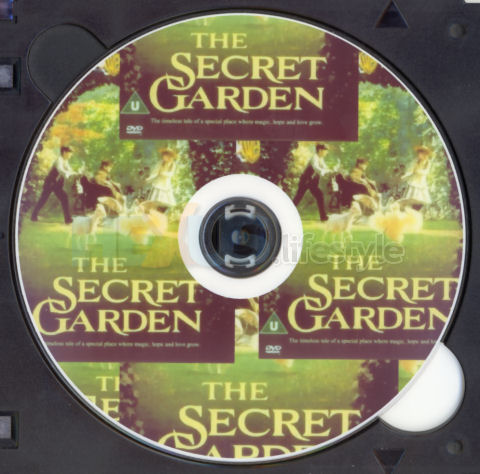
Scan of a quickly knocked up inkjet DVD face. The pic came from
Amazon and the recording was from broadcast TV (click for larger image)
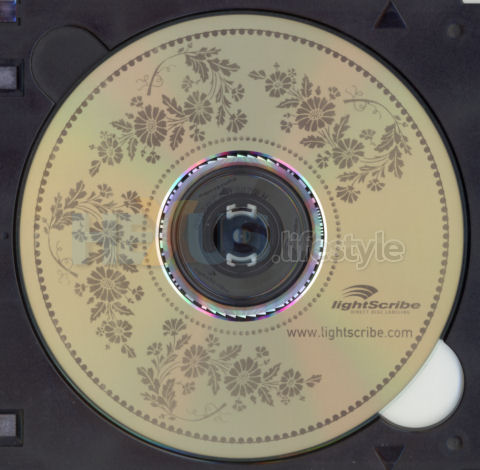
An example disc produced by LightScribe itself and showing that
the right imagery can produced great results (click for larger image)
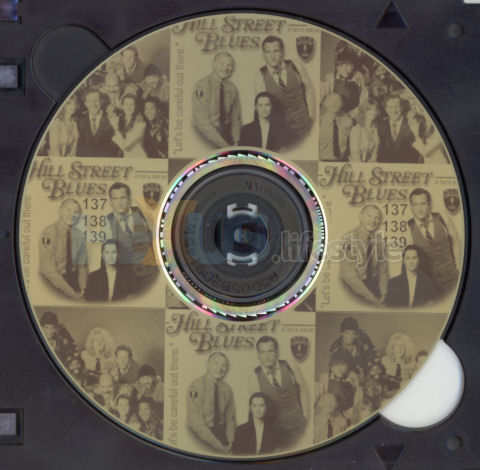
One of our own DIY LightScribe discs. Images with
high contrast do give pretty fair results
but printing a full face is very slow (click for larger image)
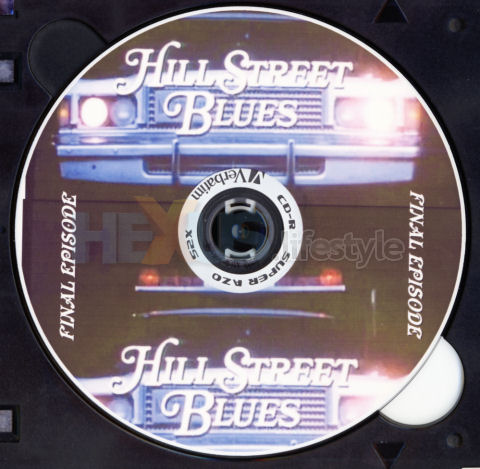
With inkjet printing, it's easy to use grabs from videos as
the on-disc imagery - and to create labels quickly (click for larger image)
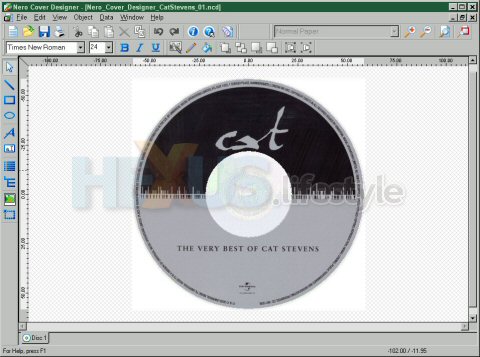
Although the Samsung comes with its own software - including tools to write LightScribe labels - it's quite possible that you'll want to use it with other programs. So, we thought we'd check out Roxio's Easy Media Creator 9's ability to work with LightScribe media in the Samsung - it's said to be compatible but we'd never had the chance to try it out before.
However, unlike Nero's app, Label Creator simply didn't recognise the Samsung as being a LightScribe printer and running the latest LightScribe installer app from the LightScribe site (LSS V1.4.124.1) didn't help.
Things were no different even after we'd installed from the LightScribe site Simple Labeler for Windows or the free version of SURETHING 4SE. Neither app saw a LightScribe printer attached to the PC.
It turned out, though, that the solution to the problem was to be found on Microsoft's site - as we discovered thanks to the massively useful CD Freaks forum.
The problem was that the other PC we were using with Roxio's suite - more accurately, another XP installation on a different partition on our test PC - had auto-run and auto-play turned off and LightScribe needs these to be turned on.
The Microsoft KB Article that provided the solution gives details of how to tweak Windows registry to restore the default settings and we made these changes before remembering that we could have achieved the same thing using the Microsoft TweakUI for XP applet that we always install at an early stage on every XP PC we use. Silly!
TweakUI and the rest of the Microsoft PowerToys for XP can be downloaded here.
Know, though, that if following MS's advice doesn't work (or, indeed, if TweakUI doesn't do the trick - and that would be our suggested route), then you're advised to uninstall the burner from Device Manager and allow it to re-install automagically.
With a USB burner, allowing a re-install just means turning it off and turning it on again; with IDE or SATA, it would require a reboot for the burner to be recognised.
It's also possible that you'll need to do a reboot even for a USB burner but, if so, you'll be notified about that after you turn the burner back on.
But, getting back to LightScribe itself - this is really quite useful and pleasing but not as useful as we'd like it to be because it's relatively slow and still restricted to grey-scale printing. However, not everyone has an inkjet that's able to printed labels direct to disc and, anyway, the Samsung and its Nero software offer plenty of other stuff that more than make up for any of LightScribe's shortcomings deficiencies, as you'll see in the coming pages...


