When installing Windows XP, most of the time you'll find that it has the basic drivers it needs to install itself. However, sometimes you might need to intervene. This tends to be the case if you have a special type of storage, such as Serial ATA or a RAID device. In situations like this, you need to load the necessary drivers from a floppy disk at the beginning of the setup process.
Usually, when you get a card or motherboard that has storage controllers which need special drivers, the necessary drivers will be provided on a floppy disk. This isn't always case, however. That's not a problem though, as all you have to do is locate the driver files and put them onto a floppy. The first thing to do is look for an installation CD. It may have a tool for creating a driver floppy. If not, it might just have the driver on it, in which case you'll have to create the floppy disk yourself. Otherwise, try the manufacturer's website, where you will probably find a downloadable version of the drivers.

Here we have a downloaded driver for a Serial ATA RAID controller found on many motherboards. It's a zip file, so first of all we'll have to extract the contents of it.
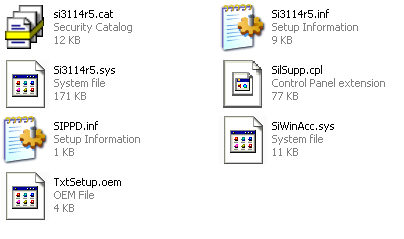
This is the contents of the downloaded file. In this case, there's just one folder, but sometimes you'll find folders for different versions of the Operating System, along with extra programs such as utilities. If there's a makedisk program, you can probably use that to create the driver floppy. If not, look for the file "txtsetup". Windows Setup looks for this file on the floppy to tell it what drivers are available for it to load. If you're in a folder with that file, then you're probably looking in the right place.
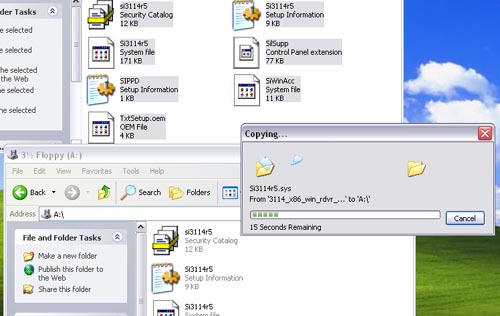
Copy the files to a blank floppy. Don't put them inside a folder, put them on the root of the floppy.
Now you're ready to put the floppy and Windows XP CD into the target computer and start setup. You want to boot from the CD, not the floppy, so if the system tries to boot from the floppy, either leave it out until setup starts to load from the CD, or change the boot order in the BIOS.
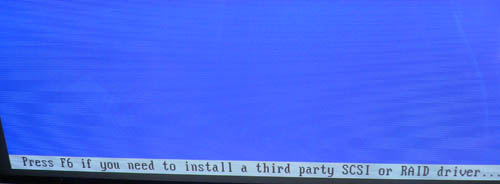
One of the first things you'll see is the above option to press F6. Do so. After a couple of minutes, you'll be given the option to load your own drivers.
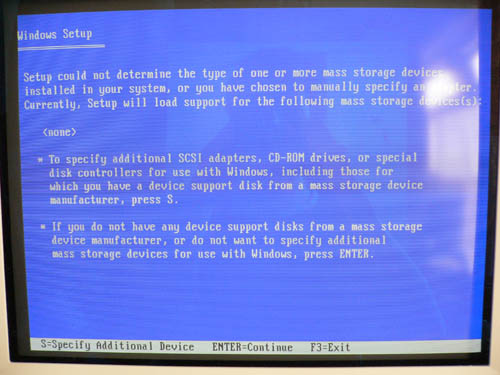
Once you see the above screen, hit 's' to specify your own driver. Setup will search the floppy disk.
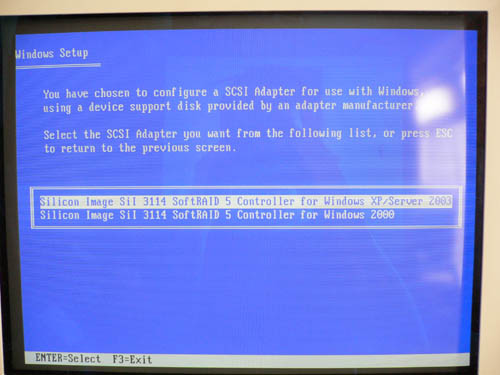
You'll be presented with a list of available drivers to load off the disk. Select the required driver and hit enter. You can go through this process more than once if you need to.
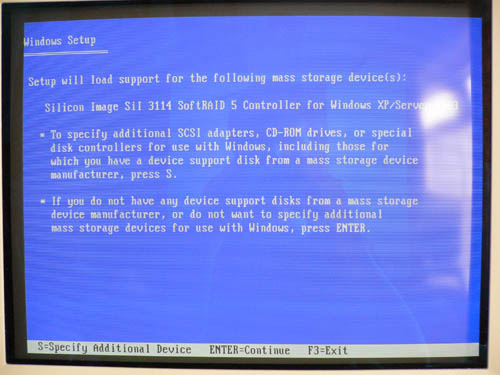
Once Setup lists all the additional drivers you want, carry on as you would with a normal Windows XP installation.